



Infusion Care Learning
Guide for healthcare professionals
Welcome to your go-to resource for using Neria™ infusion sets to support the
subcutaneous delivery of medications.¹
Go through each section step-by-step, or navigate using the tabs
Introduction
What is subcutaneous infusion and where is Neria™ indicated?
The following guidance can help you explain subcutaneous infusion to patients and answer their most common questions.
Subcutaneous infusion continuously delivers medication over a longer period into fatty tissue beneath the skin, where the body absorbs it. A needle penetrates the skin, leaving either the needle or a soft catheter in the tissue for up to 72 hours dependent on medication used.
Needles and cannulas can vary in length, size, features and method of insertion. Using an infusion set for continuous subcutaneous infusion requires fewer injections (insertions) compared to injection therapy.

Palliative care
Pain management is an important part of end of life care for individuals with serious illnesses where the aim is to improve quality of life.³
Parkinson's
Parkinson’s disease is a movement disorder of the nervous system that worsens over time. Certain treatments can be administered subcutaneously to provide a steady level of medication in the body.⁴
Primary immune deficiency
Subcutaneous infusion can deliver immunoglobulin (antibodies) under the skin to treat immune deficiencies, which refers to a group of either inherited (primary immune deficiencies) or acquired disorders that prevent the body’s immune system from working properly.⁵
Thalassemia
A heterogeneous group of blood disorders that affect haemoglobin. Regular blood transfusions are required to treat thalassemia, resulting in iron overload which can be treated with iron chelating drugs that are delivered subcutaneously.⁶
Neria™ infusion sets are medical devices designed for subcutaneous drug delivery. The infusion set is located in the subcutaneous tissues and connects the pump or syringe to the body.
The components of an infusion set include:
- Needle and/or cannula – the cannula is inserted under the skin using an introducer needle
- Adhesive – built-in adhesive pad
- Tubing - Double layer tubing designed to be strong, kink free and transparent²
- Luer lock connector – a standard connector to the syringe or pump
The Neria™ range of infusion sets come with either soft catheters or steel needles for the subcutaneous delivery of medications. The sets have been designed to be compatible with certain drugs approved for subcutaneous infusion for the treatment of Parkinson’s disease, primary Immunodeficiency, pain management, and thalassaemia².
Stability testing has been carried out with the following drugs²:
- Apomorphine and foslevodopa/foscarbidopa for Parkinson’s disease
- Immunoglobulins for the treatment of primary immune deficiency
- Morphine (hydromorphone, morphine sulfate and morphine chloride) for pain management therapy
- Deferoxamine mesylate for thalassemia
Neria™
Get to know our infusion sets
A basic infusion set includes an insertion needle, adhesive pad, tubing and a luer-lock connector. The specific features of each Neria™ infusion set vary, and the right set will depend on your preferences and your patient’s treatment needs.
Your choice for simplifying subcutaneous infusion
The Neria™ infusion sets are designed and approved for subcutaneous infusion in the treatment of diseases such as Parkinson’s disease, thalassemia, primary immune deficiency and pain management.⁷
Neria™ infusion sets offer:
- Thin needles (G27)
- Built-in adhesive
- Double-layer, small bore tubing to minimise drug waste and priming volumes⁷
- Reduced risk of needle stick injury (with Neria™ Guard)⁷
- Tubing disconnect at the infusion site on Neria™ Guard and Neria™ Soft
- Standard luer-lock connection
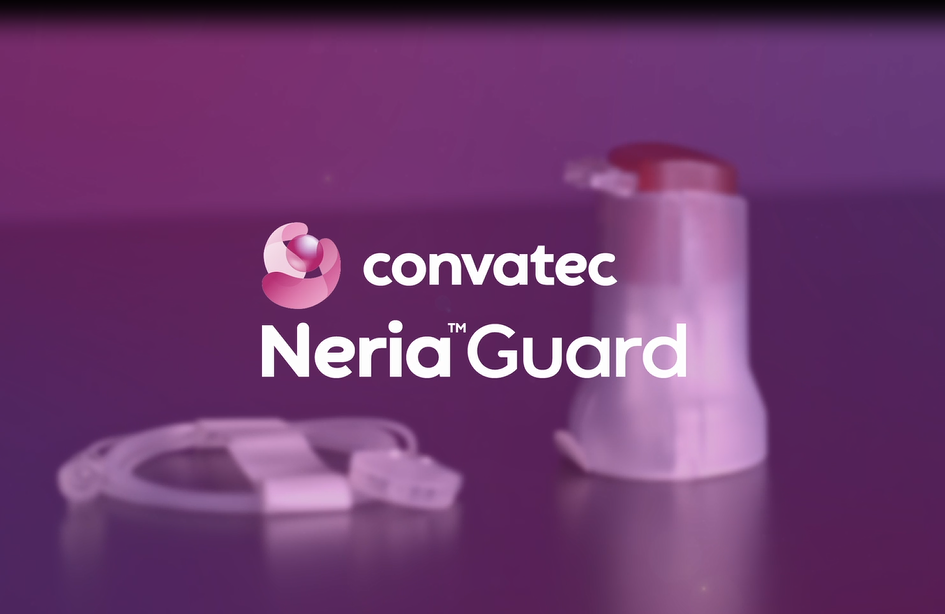
Neria™ Guard Infusion Set
After washing your hands, clean the insertion site and leave to air dry. Note: You may need to remove hair from the area so the adhesive can properly attach to the skin.
 ;
;
Open the Neria™ Guard package and take out the contents. Gently remove the paper from the adhesive, being careful not to touch the adhesive.
 ;
;
Squeeze the sides of the tab on the inserter and gently pull it out.
 ;
;
Stretch the skin so it is flat and place the insertion device on the skin before pressing the red button completely down. The insertion is complete when the device is released from the cannula housing.
 ;
;
Press the adhesive tape down onto the skin
 ;
;
Connect to the pump and prime the tubing according to instructions provided by the pump manufacturer.
 ;
;
Place a finger on the cannula housing while pushing the site connector straight in until you hear a "click". Check the infusion site frequently.
 ;
;
Watch the demonstration video
Follow this simple step-by-step guide when using the Neria™ Guard automatic inserter.
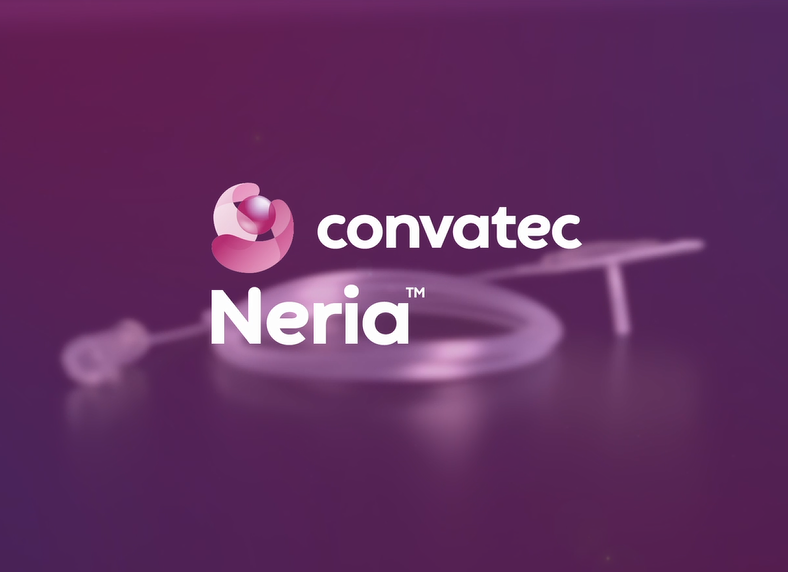
Neria™ Infusion Set
After washing your hands, clean the insertion site and leave to air dry. Note: you may need to remove hair from the area so the adhesive can properly attach to the skin.
;
Prime the tubing according to pump manufacturer's instructions for use and remove the adhesive backing paper.
 ;
;
Gently twist and pull to remove the needle guard.
 ;
;
Pinch the skin with one hand and insert the Neria™ infusion set vertically.
 ;
;
Press the adhesive to secure the Neria™ infusion set to the skin. Check the infusion set frequently.
 ;
;
Watch the demonstration video
Follow this simple step-by-step guide when using the Neria™ infusion set.
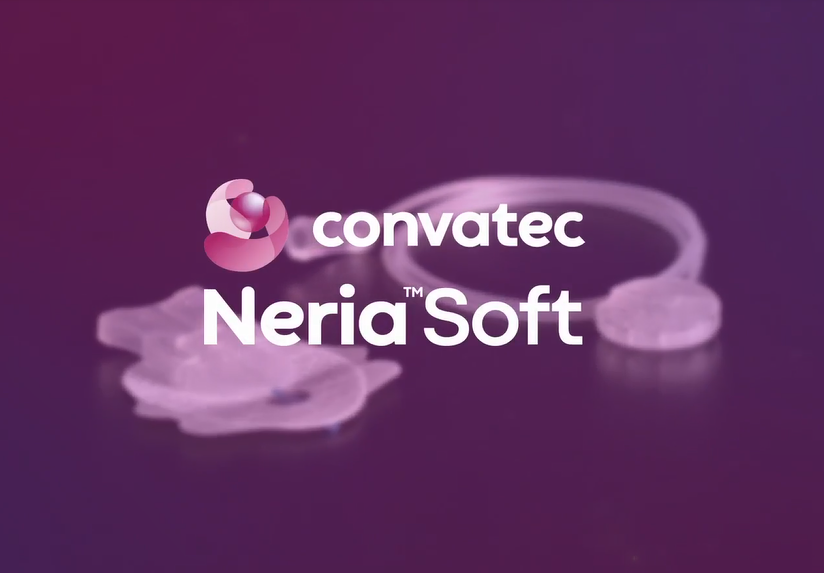
Neria™ Soft Infusion Set
After washing your hands, clean the insertion site and leave to air dry. You may need to remove hair from the area so the adhesive can properly attach to the skin.
;
Pull gently to remove the paper from the adhesive, being careful not to touch the adhesive.
 ;
;
Gently twist and pull to remove the needle guard.
 ;
;
Pinch the skin with one hand and insert the Neria™ Soft infusion set at a 20-45 degree angle.
 ;
;
Remove the introducer needle.
 ;
;
Remove the remaining adhesive backing paper, and press the adhesive onto the skin to secure.
 ;
;
Prime tubing according to pump manufacturer's instructions for use. Insert the connector needle to connect the tubing. Check the infusion site frequently.
 ;
;
Watch the demonstration video
Follow this simple step-by-step guide when using the Neria™ Soft infusion set.
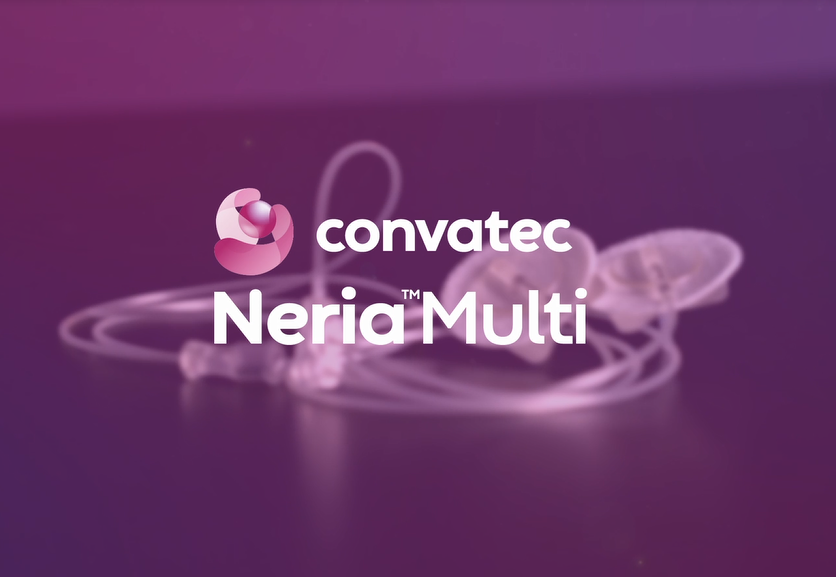
Neria™ Multi Infusion Set
After washing your hands, clean the insertion site and leave to air dry. Note: you may need to remove hair from the area so the adhesive can properly attach to the skin.
;
Prime the tubing according to pump manufacturer's instructions for use and remove the adhesive backing paper.
;
Gently twist and pull to remove the needle guard
;
Pinch the skin with one hand and insert the Neria™ Multi infusion set at a 90-degree angle (straight in).
;
Press the adhesive to secure the Neria™ Multi infusion set to the skin. Check the infusion site frequently. Repeat step 2-5 for all sites.
;
Watch the demonstration video
Follow this simple step-by-step guide when using the Neria™ Multi infusion set.
| Neria Guard | Neria | Neria Soft | Neria Multi | |
| Cannula | Soft | Stainless Steel | Soft | Stainless Steel |
| Insertion angle | 20–45 degrees | 90 degrees | 90 degrees | 90 degrees |
| Disconnection feature | Yes at site | No | Yes at site | No |
| Needle / Introducer needle gauge | G27 | G27 or G29 | G27 | G27 |
| Needle lengths | 13 or 17mm | 6, 8, 10 or 12mm | 6 or 9mm | Bifurcated: 8, 10mm Trifurcated: 8, 10 or 12mm Quad-furcated: 8, 10, 12mm |
| Tubing lengths | 60, 110cm | 60, 110cm | 12, 60, 110cm | Total 90cm |
| Adhesive | Built-in | Built-in | Built-in | Built-in |
| Hidden needle | - | - | Yes | - |
| Priming volumes | 12 cm @ 0.04 ml 60 cm @ 0.10 ml 110 cm @ 0.15 ml |
60 cm @ 0.10 ml (G27) 110 cm @ 0.15 ml (G27) 60 cm @ 0.07 ml (G29) 110 cm @ 0.11 ml (G29) |
60 cm @ 0.10 ml 110 cm @ 0.15 ml |
2 needles @ 0.32 ml 3 needles @ 0.39 ml 4 needles @ 0.48 ml |
“Neria™ Guard is very easy to use and less painful for the patient. It's very easy to disconnect if the patient wants a shower, it requires no additional dressing, and it's also useful for patients with cachexia.”
NHS Clinical Nurse Specialist
“Neria™ Guard is far easier to insert than the sub-cut lines we previously used, and patients much prefer it. We've seen that it's far less painful for patients who need subcutaneous infusion.”
NHS Staff Nurse
It is recommended that a Neria™ infusion set is changed after 72 hours for a soft catheter or 48 hours for a steel needle. Please consult the instructions for use that comes with the product for further information. The wear time is also dependent on the medication used.
No. The Neria™ infusion sets are specifically designed for subcutaneous drug delivery and are not intended for IV infusion of medication.
Neria™ Guard is an infusion set with an integrated needle safe and fully automatic inserter. The user cannot see and is not exposed to the needle at any time, which can help protect the user from needle stick injuries.
Neria™ infusion sets have a standard luer lock connector and are compatible with most available infusion pumps.
The strong, double layer tubing included with Neria™ infusion sets is designed to be
kink resistant⁷.
When disconnecting the tubing at the infusion site, use the caps to give a smoother surface at the site (cannula housing). The caps are included in the soft-catheter infusion sets (Neria™ Guard and Neria™ Soft).
| Neria™ Guard | Neria™ | Neria™ Soft | Neria™ Multi | |
|---|---|---|---|---|
| Priming volumes | 12 cm @ 0.04 ml 60 cm @ 0.10 ml 110 cm @ 0.15 ml |
60 cm @ 0.10 ml (G27) 110 cm @ 0.15 ml (G27) 60 cm @ 0.07 ml (G29) 110 cm @ 0.11 ml (G29) |
60 cm @ 0.10 ml 110 cm @ 0.15 ml |
2 needles @ 0.32 ml 3 needles @ 0.39 ml 4 needles @ 0.48 ml |
Neria™ infusion sets come with different needle sizes and tubing lengths, making them suitable for all patient types. The needle or soft catheter should be positioned in the subcutaneous fat layer below the skin.
The choice of soft cannula or needle length should be based on treatment and patient-specific factors such as physiology and activity level. A soft cannula or needle that is too long may result in insertion pain and/or insertion into a bone or muscle and a soft cannula or needle that is too short could result in leakage or irritation at the insertion site.
For very lean and active patients, a shorter needle or Neria™Soft with an angled insertion may be more suitable. The different tubing lengths also accommodate the needs of patients and the position of the pump.
Please always consult drug requirements and the pump manufacturer’s instructions for use prior to choosing the appropriate infusion set.
Techniques
How to select and manage infusion sites
The following guidance can help you find the best places to insert an infusion set and how to rotate the insertion site to minimise any potential skin irritation.⁸ ⁹
Typical insertion sites are on your lower back, abdomen, hips, buttocks, thigh or upper arm. Consider also cannula length when selecting the optimal insertion site for your patient.
Insertion tips:
- Make sure the site is clean and dry.
- Avoid sites in contact with constrictive clothing, such as a waistband, or other objects that can pull on the infusion set.
- Avoid the navel and surrounding area.
- Do not select a site that is infected, swollen, red, irritated, bruised or bleeding.
- Do not insert in an area with lumps, hard tissue or bumps.
- Do not insert into bone or muscle as this may cause pain, damage the product
and affect medication absorption.
- Remember to visually inspect the infusion set and site several times each day.
- Follow recommended hygiene procedures and ensure the site remains clean and dry.
- Change the infusion set as per drug indication.
- Do not use any creams, oils or perfumes on the site.
- Gently massage the site after use.
- If nodules occur, consider ultrasound treatment. (Henriksen, Tove, and Harry Staines. “Continuous Subcutaneous Apomorphine Infusion in Parkinson's Disease: A Single- Center, Long-Term Follow-Up Study of the Causes for iscontinuation.” Journal of personalized medicine vol. 11,6 525. 8 Jun. 2021.)
It is important to not re-use the same insertion site:
- Use a pattern, such as a clock or snake, to guide the next insertion site placement.
- Choose a site that is at least 2.5 cm away from the previous site.*
- Leave the site to rest and do not re-use until the skin has healed.
Remember, the above rotation pattern is an example only. Consult local guidelines
and select the rotation pattern that works best for the individual patient.
*IEADSG Guidelines: Insulin Storage and Optimisation of Injection Technique in Diabetes Management, Diabetes Therapy, (2019) 10:341-366
Disclaimer: Please always refer to the instruction for use which comes with the product for further information and guidance
The most commonly used insertion sites for subcutaneous therapy are on the abdomen and lower back. Please read the product’s instructions for use and consider any local guidelines and protocols.
Some tips which may help reduce the risk of infusion site irritation include:
- Always clean and dry the insertion site prior to insertion.
- Massage the insertion site prior to insertion.
- Monitor the insertion site through the “window” of the soft catheter infusion set.
- Make sure to rotate the sites for instance by using a rotation pattern.
- Consider switching to a soft cannula infusion set and/or a different needle/cannula length when faced with insertion site problems.
- If site irritation occurs, change the infusion set to a new site and massage the skin.
Disclaimer: Please always refer to the instruction for use which comes with the product for further information and guidance.
Many factors can influence the condition of your skin. To help minimise skin complications, consider the following:
- Remember skin and hand hygiene prior to insertion.
- Use new areas for insertion, for instance the lower back and thighs.
- Use a rotation pattern to avoid re-using the same site.
- Avoid sites that already have site irritation or nodules.
- Use a site that does not interfere with clothing, belts etc.
- Massage the infusion site prior to insertion.
- Change the catheter material (from steel to soft), length or insertion technique.
Disclaimer: Please always refer to the instruction for use which comes with the product for further information and guidance.
Patient support
Equip your patients with knowledge and confidence
The following guidance can help you explain subcutaneous infusion to patients and answer their most common questions.
Sports
Wearing an infusion set doesn’t have to hold your patients back, but it’s important to take precautions to avoid issues like dislodgement or skin irritation.
 ;
;
Avoid placing the infusion set in a high friction area or in an area with repeated muscle movements. Sweat, movement or impact may dislodge the set or cause irritation.
 ;
;
It’s generally safe and beneficial to stay as active as possible but always make recommendations based on the specific needs of the patient and as assessed by the healthcare professional.
 ;
;
Showering and bathing
Neria™Guard and Neria™Soft allow for disconnection of the tubing and pump, prior to taking a bath or shower.
 ;
;
Patients can shower and bathe while wearing the infusion set. However, If the adhesive tape becomes loose, change to a new product and a new site.
 ;
;
Check the infusion site frequently to ensure that the soft cannula or needle remain firmly in place. If it is not in place, change to a new product and a new site.
 ;
;
Disconnect the infusion pump and tubing (for Neria™ Guard and Neria™ Soft only) before taking a bath or shower and make sure to check the site before reconnecting.
 ;
;
Work & daily life
The tubes that come with the infusion sets vary in length. Consider which length is most convenient for the patient and offers the right level of mobility.
 ;
;
When choosing an infusion set, consider the patients activity level. An infusion set with a disconnect option makes it easier for the patient to shower and engage in sports.
 ;
;
Consider the availability of custom bags for carrying the pump during activities.
 ;
;
On the go
When travelling, carry infusion sets in hand baggage in case of a delay and remember to carry spare sets.
 ;
;
Before going through security, disconnect the pump and inform security staff about the infusion pump.
 ;
;
Consider the availability of custom bags for carrying the pump during holiday activities such as hiking and cycling.
 ;
;
Yes, if using a soft catheter infusion set (Neria™Guard or Neria™Soft), the tubing
and pump can be disconnected prior to a shower or bath. If the adhesive tape becomes loose, change to a new product and a new site. Check the insertion site frequently to ensure that the soft cannula or steel needle remain firmly in
place. If it is not in place, change to a new product and a new site.
Some tips which may reduce the risk of infusion site pain and irritation include:
- Always clean and dry the insertion site prior to insertion.
- Massage the insertion site prior to insertion.
- Monitor the insertion site through the “window” of the soft catheter infusion set.
- Make sure to rotate the sites using one of the recommended patterns (for instance S-shape or clockwise).
- Consider switching to a soft cannula infusion set and/or a shorter needle/soft catheter when faced with insertion site problems.
- If site irritation occurs, change the infusion set to a new site and massage the skin.
Disclaimer: Please always refer to the instruction for use which comes with the product for futher information and guidance.
Knowledge centre
Designed to support healthcare professionals in subcutaneous infusion care
Explore downloadable fact cards, step-by-step instructional videos and expert guidance.
Test
Neria™ Guard fact card
PDF
Neria™ Fact Card
PDF
Neria™ Soft fact card
PDF
Neria™ Multi fact card
PDF
Neria™ Guard
Neria™
Neria™ Soft
Neria™ Multi
Product range brochure
PDF
Site management leaflet
PDF
Pain infographic
PDF
Parkinson’s Europe: parkinsonseurope.org
Thalassemi International Federation: thalassaemia.org.cy
European Association of Palliative Care: European Association for Palliative Care
Subscribe to stay in the know
Newsletter sign up
Introduction
¹Please refer to the instructions for use that come with the Neria™ infusion sets for intended use and indications.
The choice of medication and method of administration rely on the assessment of healthcare professionals.
²Core Claims Table Convatec IC, data on file, D012-002912, 2025
³NHS: https://www.nhs.uk/tests-and-treatments/end-of-life-care/your-wellbeing/controlling-pain-and-other-symptoms/, accessed 8th September 2025
⁴https://www.parkinsons.org.uk/information-and-support/what-parkinsons, https://www.parkinsons.org.uk/sites/default/files/2025-07/10520_Drug%20Treatments%20for%20Parkinsons_92pp_V7%20%281%29.pdf, accessed 8th September 2025
⁵Immune deficiency foundation. https://primaryimmune.org/understanding-primary-immunodeficiency/treatment/immunoglobulin-replacement-therapy Accessed: 13 August 2025.
⁶NHS, Imperial College Healthcare. Desferrioxamine (Desferal®): Information for patients, relatives and carers. https://www.imperial.nhs.uk/-/media/website/patient-information-leaflets/haematology/red-blood-cell-<br>disease/desferrioxamine.pdf?rev=1e57547aede64035abf00de0d04612f7&amp;sc_lang=en Accessed 13 August 2025.
Our devices
⁷Core Claims Table Convatec IC, data on file, D012-002912, 2025.
Techniques
⁸Hagell, Peter et al. “Apomorphine formulation may influence subcutaneous complications from continuous subcutaneous apomorphine infusion in Parkinson’s disease.” Journal of Neurology vol. 267,11 (2020): 3411-3417.
⁹Fürst, Per et al. “Continuous subcutaneous infusion for pain control in dying patients: experiences from a tertiary palliative care center.” BMC Palliative Care vol. 19,1 172. 10 Nov 2020.